


How I Set Up a Raspberry Pi Lo-Fi Livestream for My Aquarium

After enduring a stressful and quite chaotic few weeks at work, I decided that it was time to use some PTO time that I’d been building up for a while. I hadn’t planned anything for this week other than spending it doing something interesting.
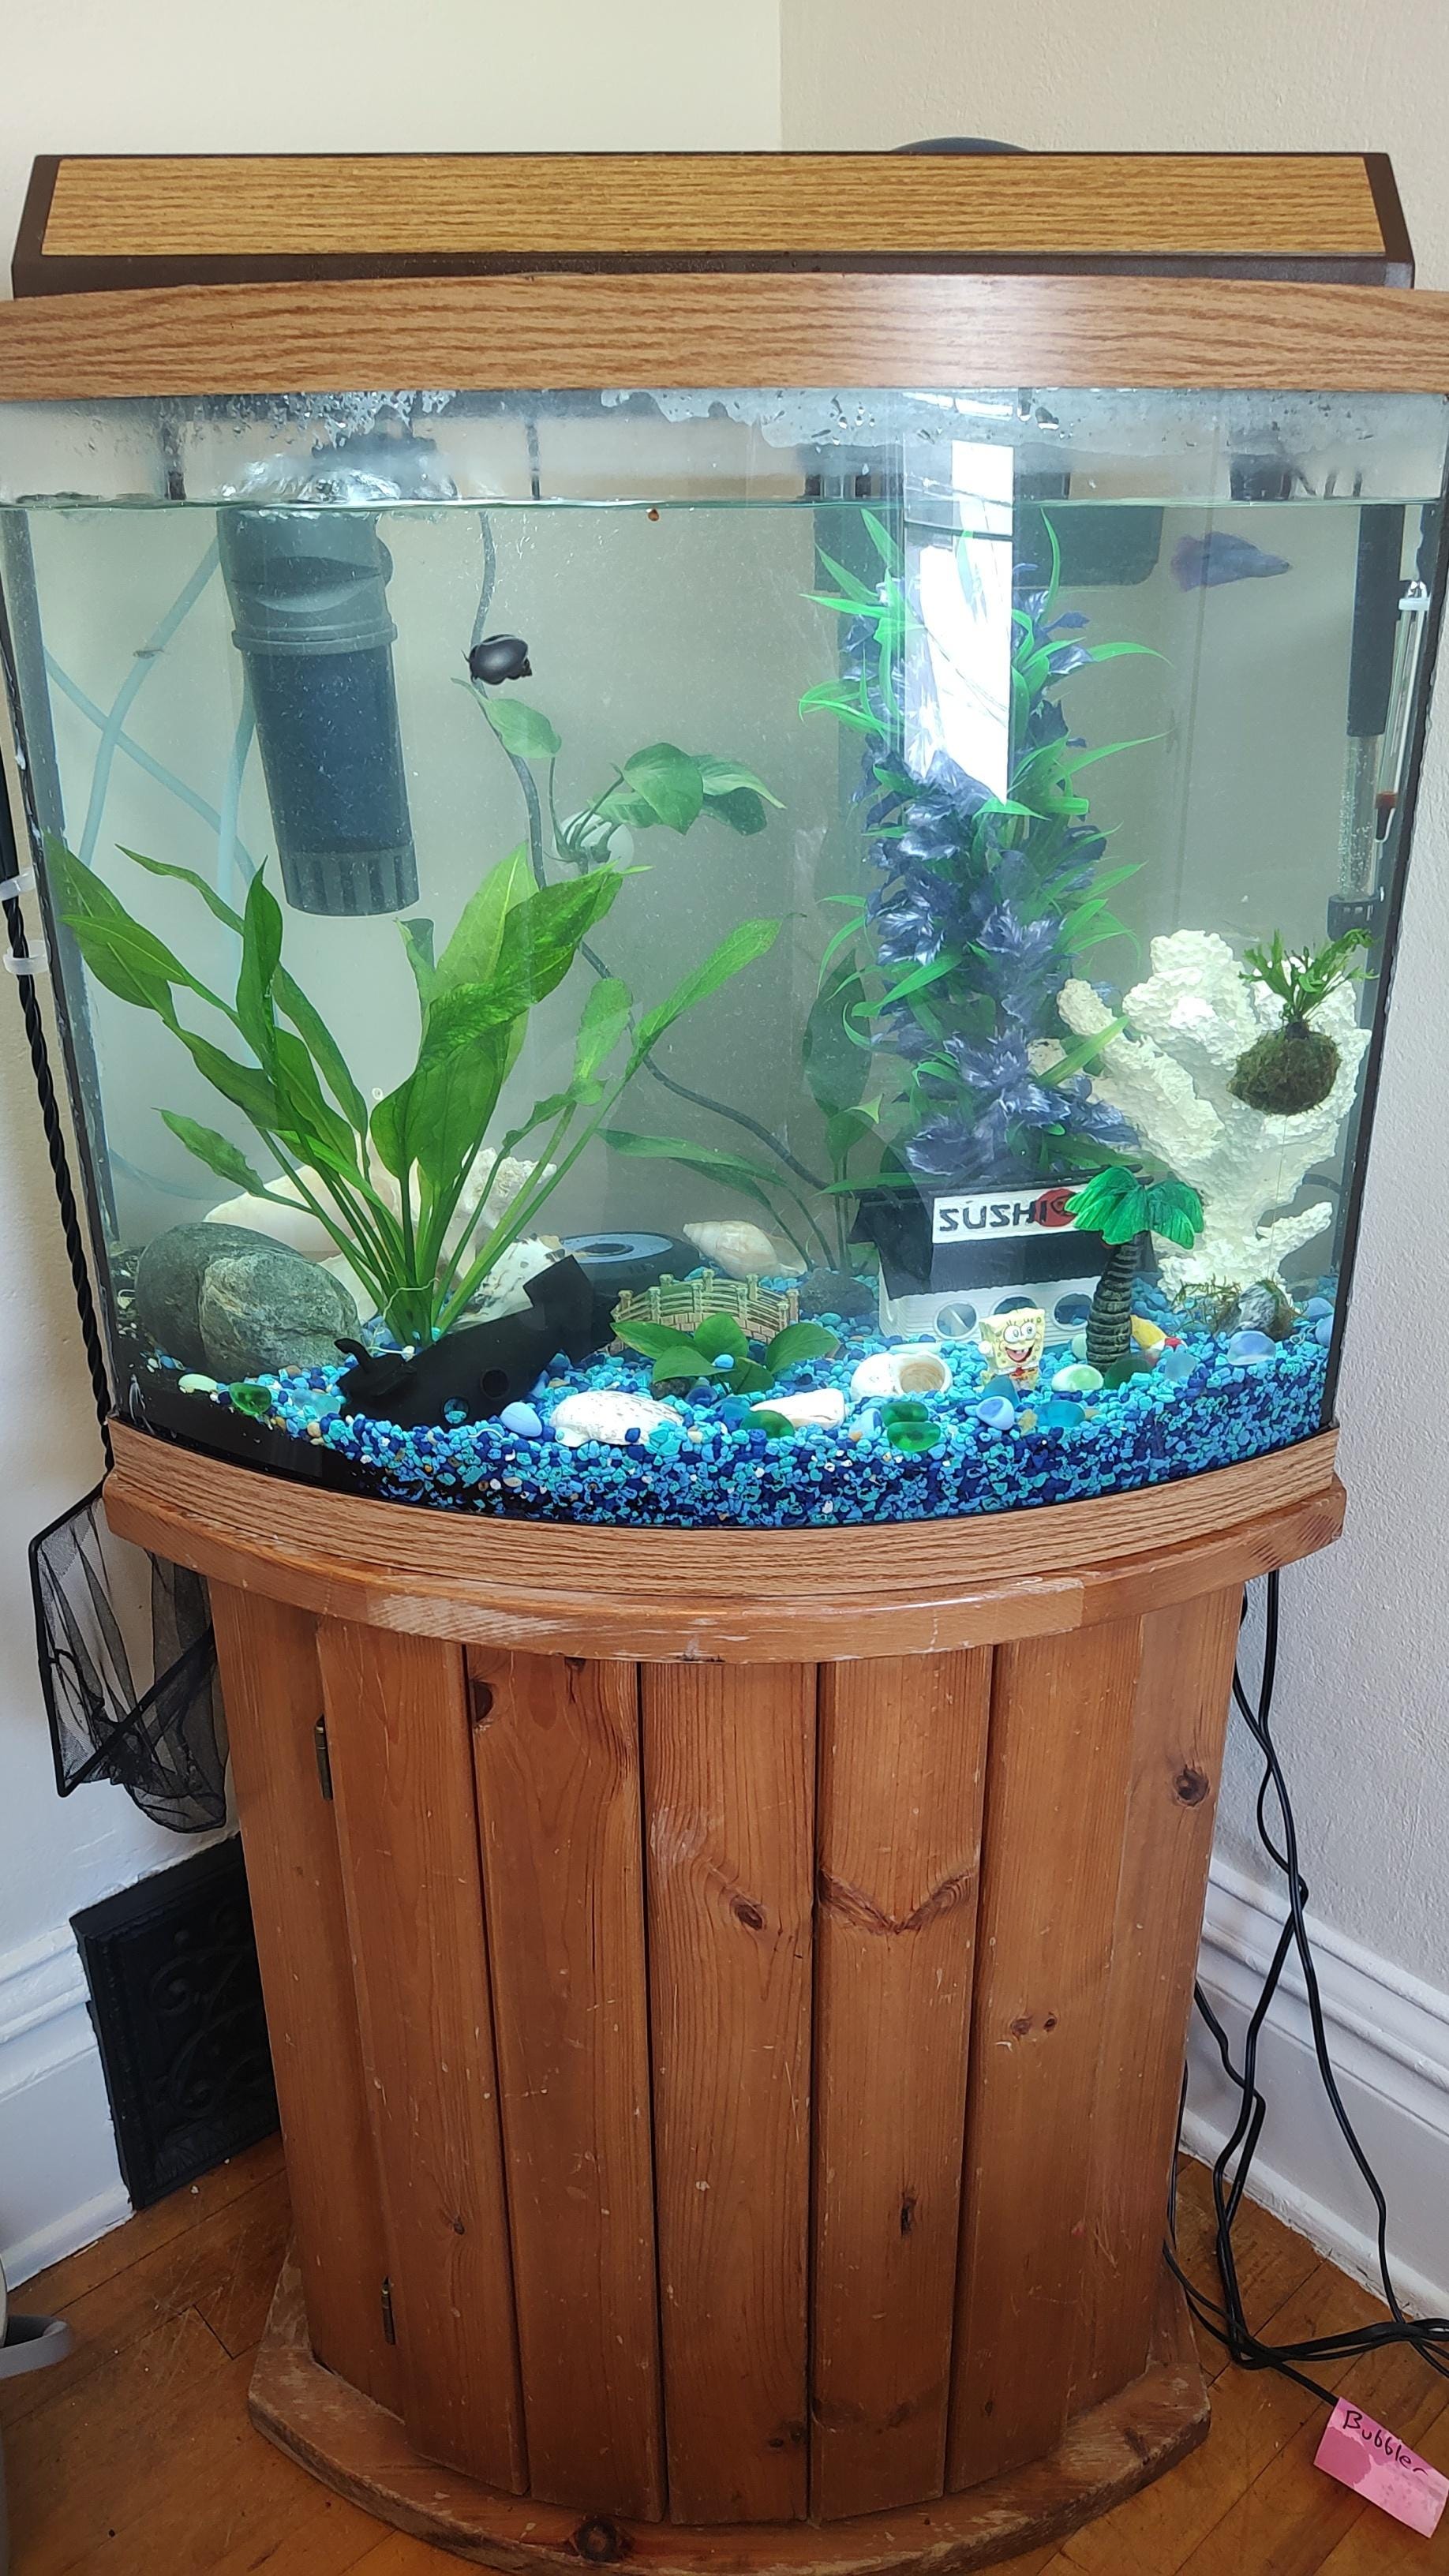
I’d gotten a 30 gallon fish tank from my parents just a month earlier that I had promptly added many aquatic creatures to. Aquarium-keeping had become a new hobby of mine, and I was proud of it, but I really wanted a way to show off my indoor ecosystem to others.
That’s when I got the idea of recording my aquarium as a “Lo-Fi” type livestream. If you’re unfamiliar, “Lo-Fi” is a genre of videos on YouTube that offer relaxing music and visuals for a calming environment, and are popular with students to keep on while they are working/studying. I knew to do this that I would at least need a camera with a network card and a programmable board, but most of the ones I found online like this were a bit expensive.
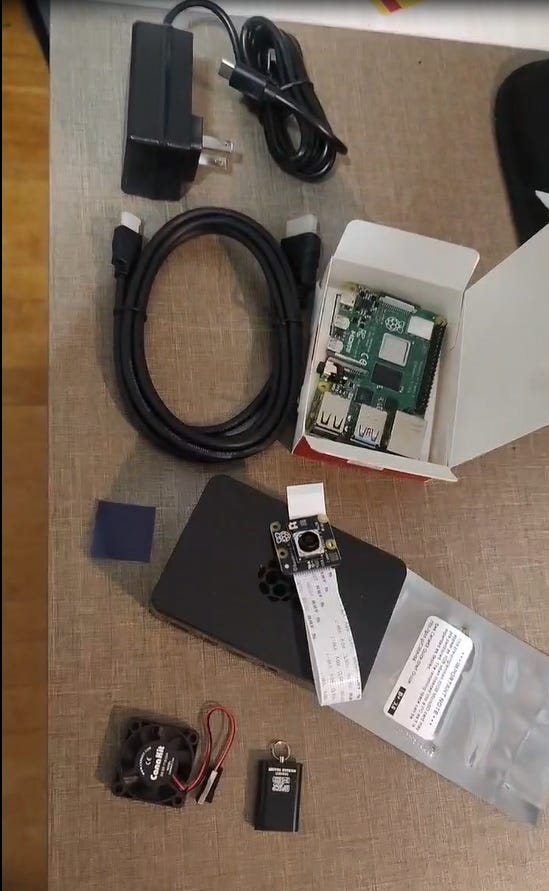
It occurred to me that I had always curious about playing around with Raspberry Pi and Arduino micro-controllers, which are mini computer boards for tech hobbyists. I decided that the Raspberry Pi 4 with a camera module would be perfect for this situation. I went on Canakit’s website and ordered a starter kit for a reasonable price.
My order came within a few days and I got to work quickly assembling it. Thankfully, all of the parts came with nothing broken. The Pi came with a case to hold it, but I immediately ran into a problem: the manufacturer hadn’t included an opening for the camera cable, so this wasn’t going to work.
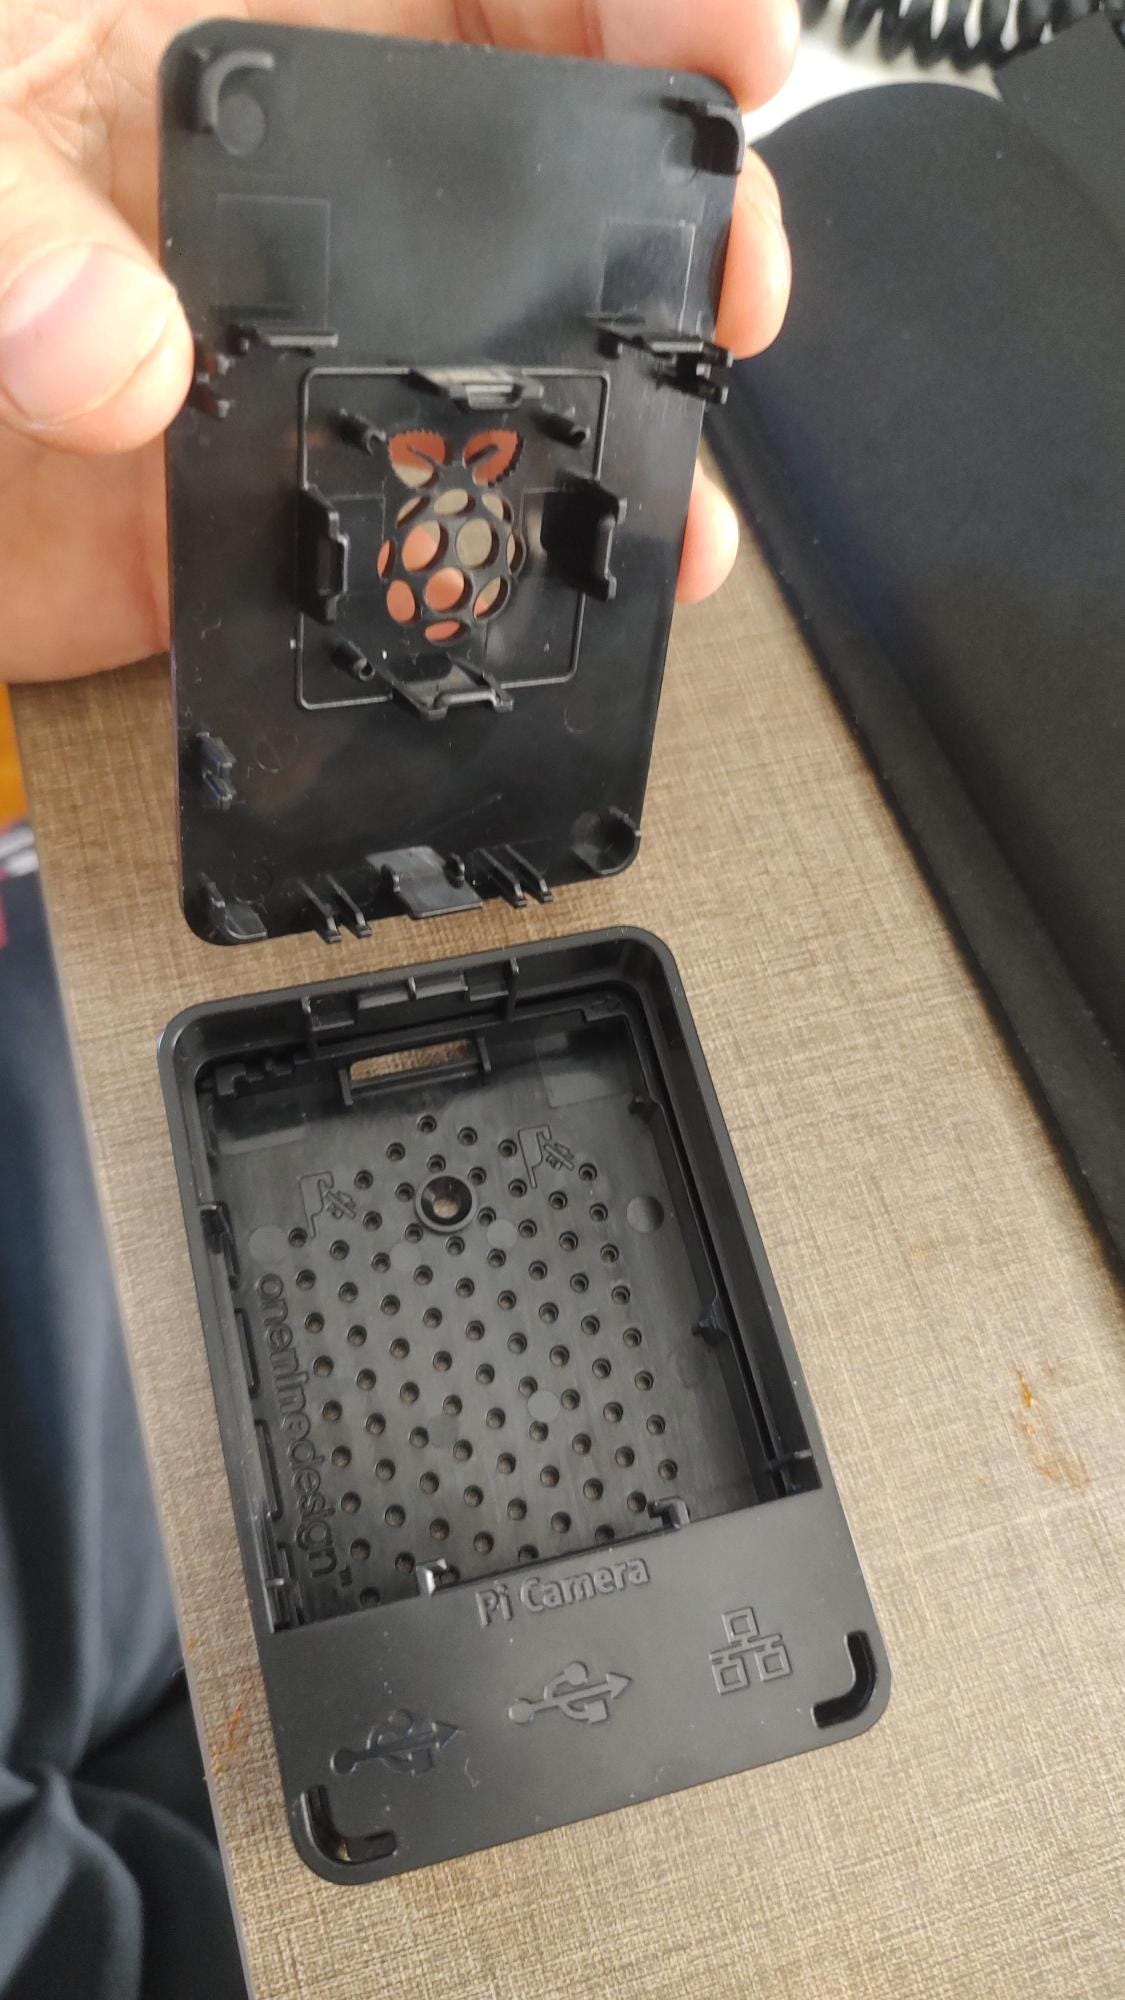
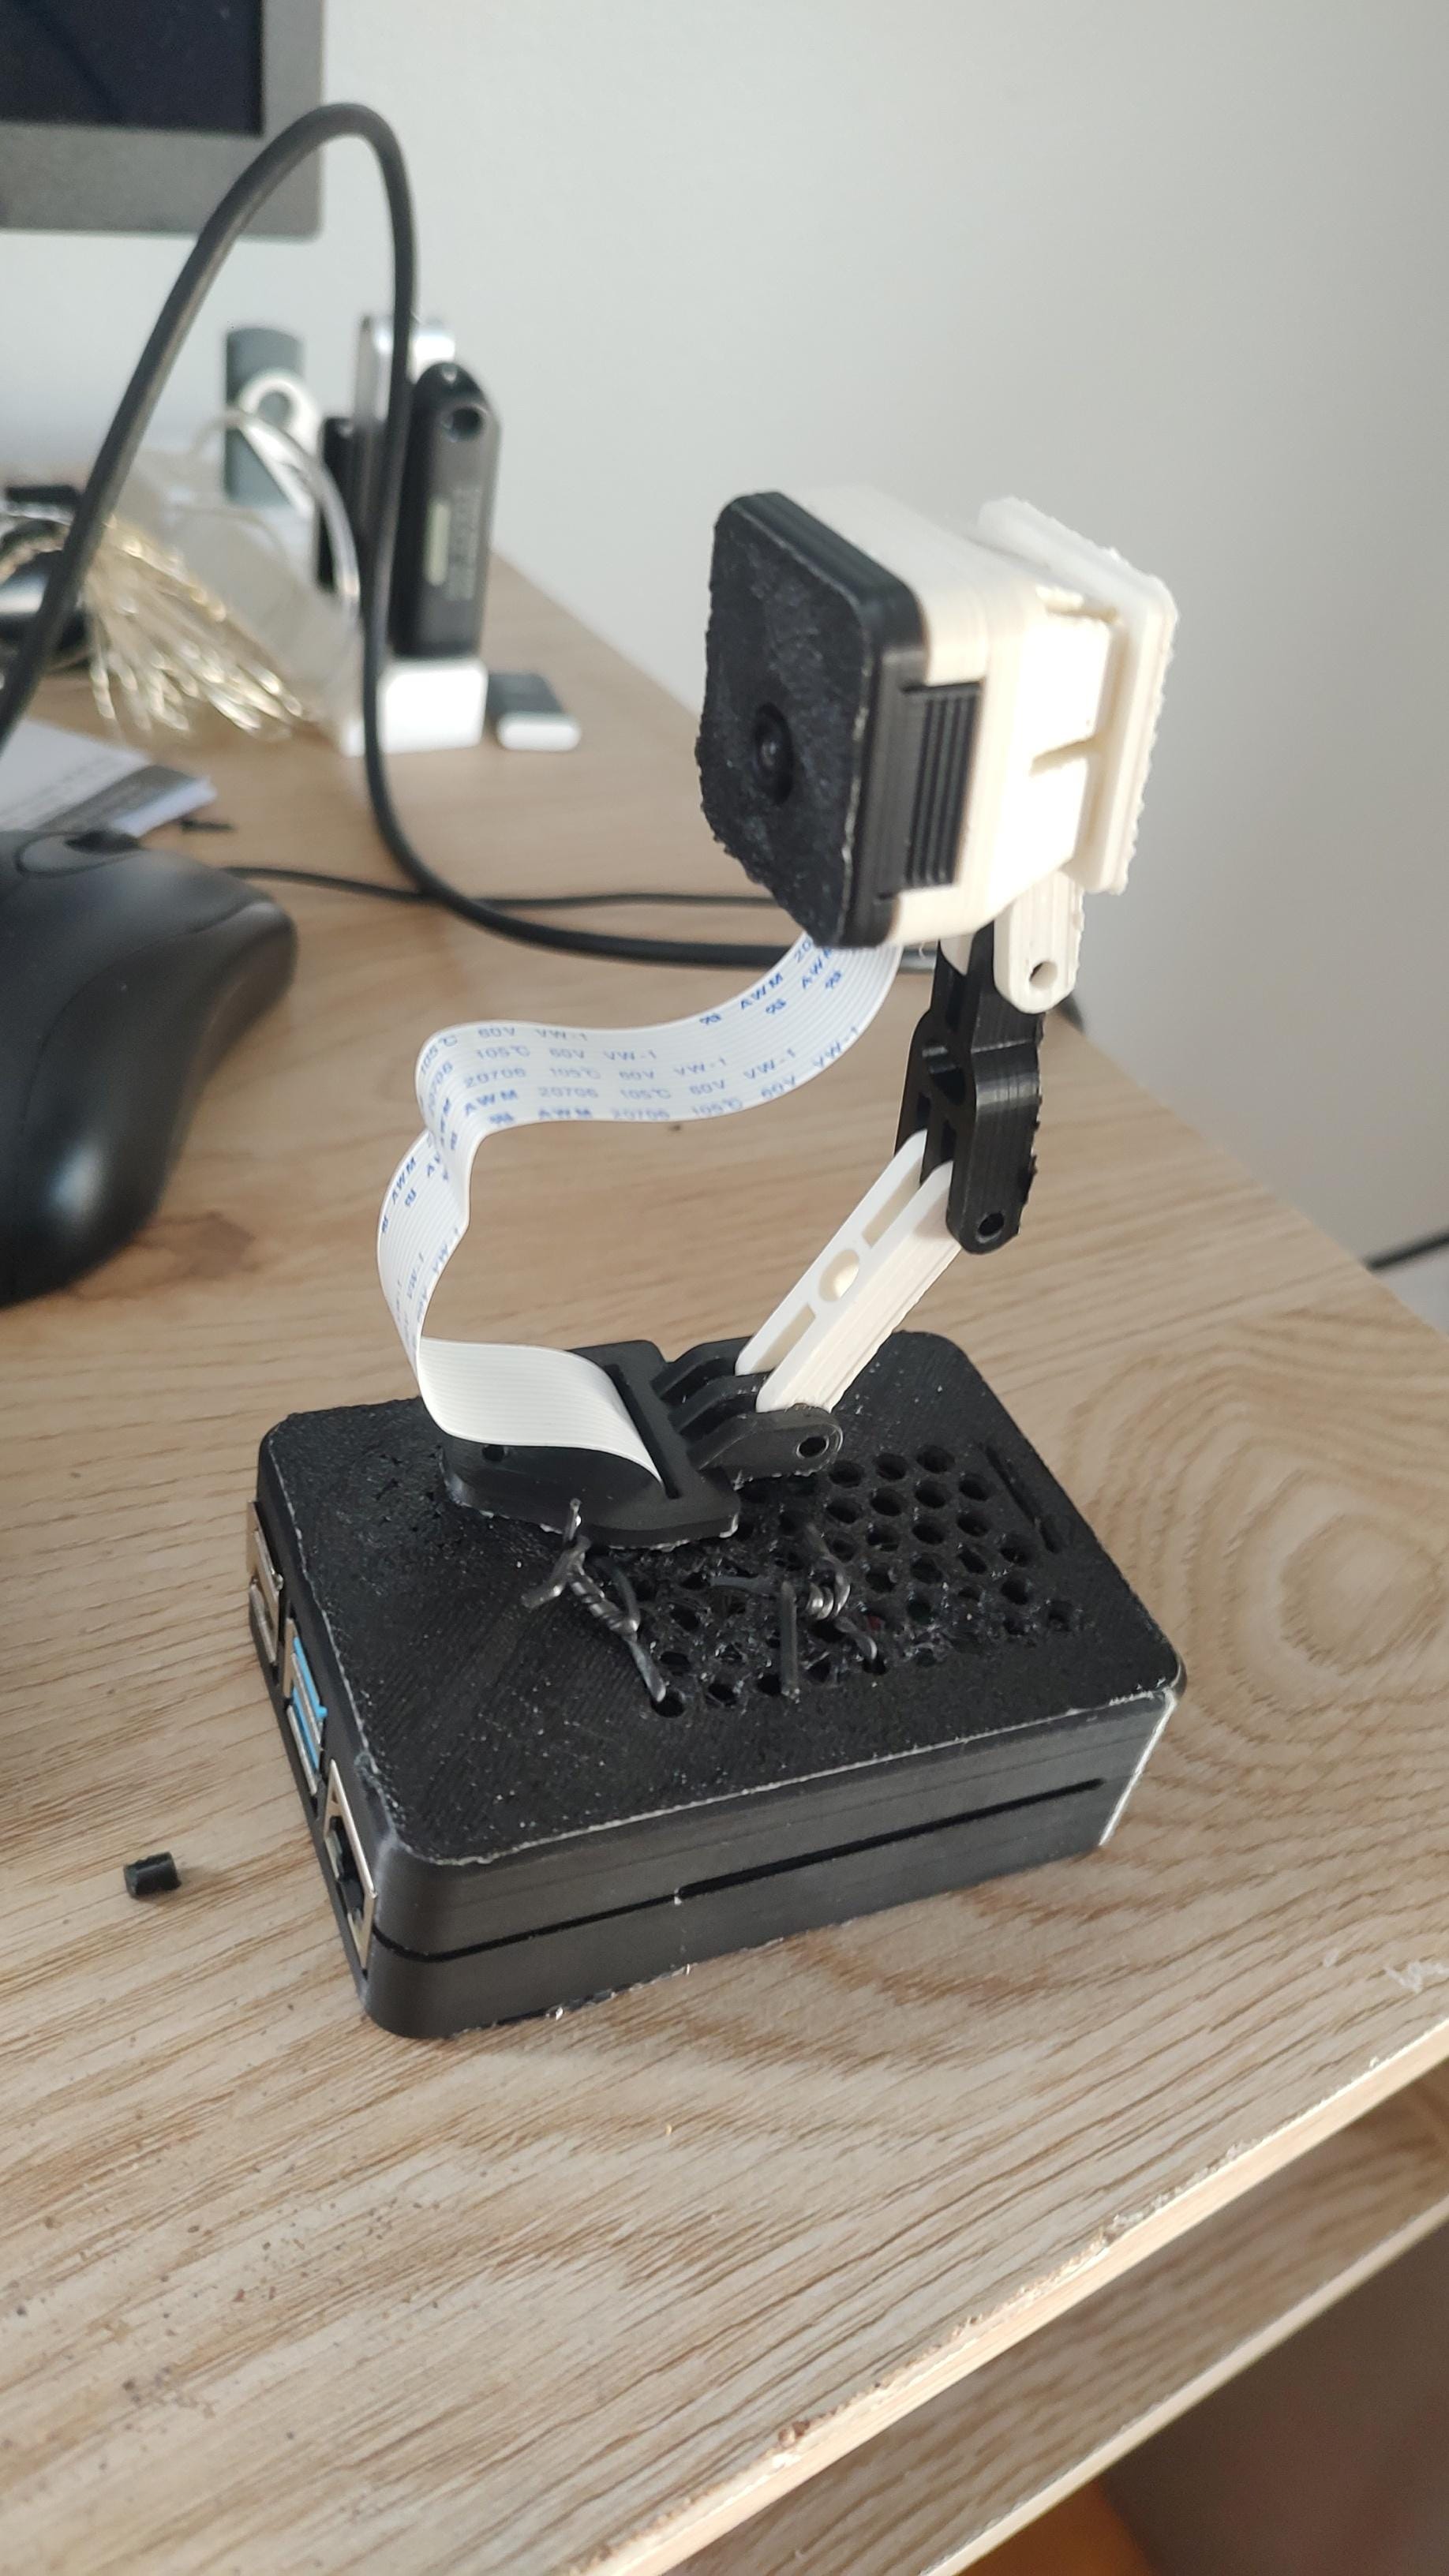
I ended up 3D printing my own case that did include this camera slot, but there was no room for comfort in this case. I had to gently but very firmly press the pi into the print until it finally clicked into place. I feel very fortunate that it didn’t snap in half. I also 3D printed a case and arm for the camera so that it could hold itself upright.
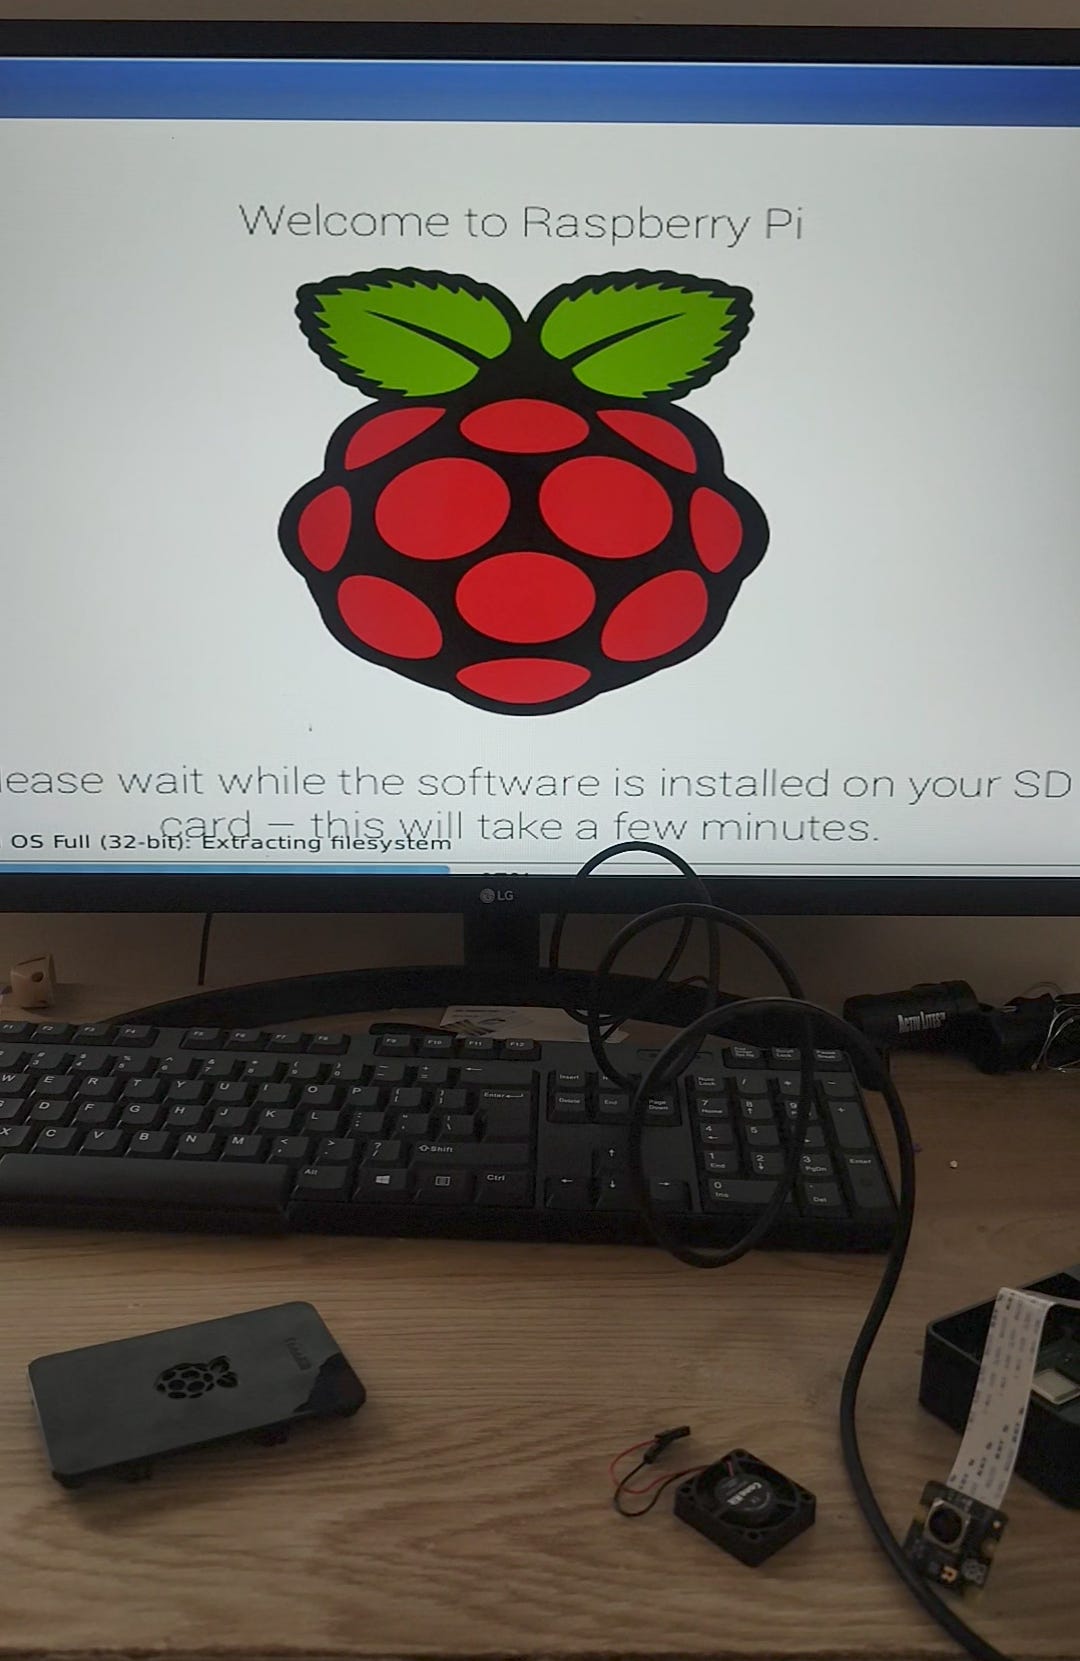
Now that that was done, I could get to the fun part of the task: programming. I installed the standard operating system and everything booted up as expected. I had prepared myself for this project by reading a few articles and watching some videos on how exactly this would be accomplished. I understood that most code would be written in Python, but there are modules on pip that would be necessary for the job. Unfortunately, this is where most of my frustration lied.
I pip installed all of the packages necessary for the project first, then tried testing the camera. I was led down the path of using the python library libcamera, which is a common library for taking photos and videos. I installed the library and ran a simple command to take a picture. Aaaaaand it didn’t work. I received an error that my pi was failing to access the camera. I assumed initially that the issue was my camera module was either damaged or not plugged in correctly, but everything seems to be working correctly.
The error had to do with the camera being occupied by another service running, but I checked and there were no active processes that would use the camera. This led me down a rabbit hole of online forums of folks suggesting different things that ultimately did not work. I assume that I accidently created some sort of “dependency hell” that is common with software using many modules. It came down to the final decision of wiping and re-installing the OS entirely. Thankfully, this fixed this issue.
Now, If you know anything about Python, you know that modules become outdated rather quickly, and this definitely worked against my favor. The packages I was advised to work with were no longer supported, so I needed to find many alternatives. An example of this was the Pycamera module, which I didn’t learn was deprecated and replaced by the now supported Pycamera2 a couple years ago until after I’d learned how to use it.
Finding workarounds for these outdated tools involved scrolling through miles of online forums to debug, fix error messages, and navigate Python modules that were completely alien to me. I even resorted to using ChatGPT on multiple occasions for help, and give it credit for helping me out a lot.
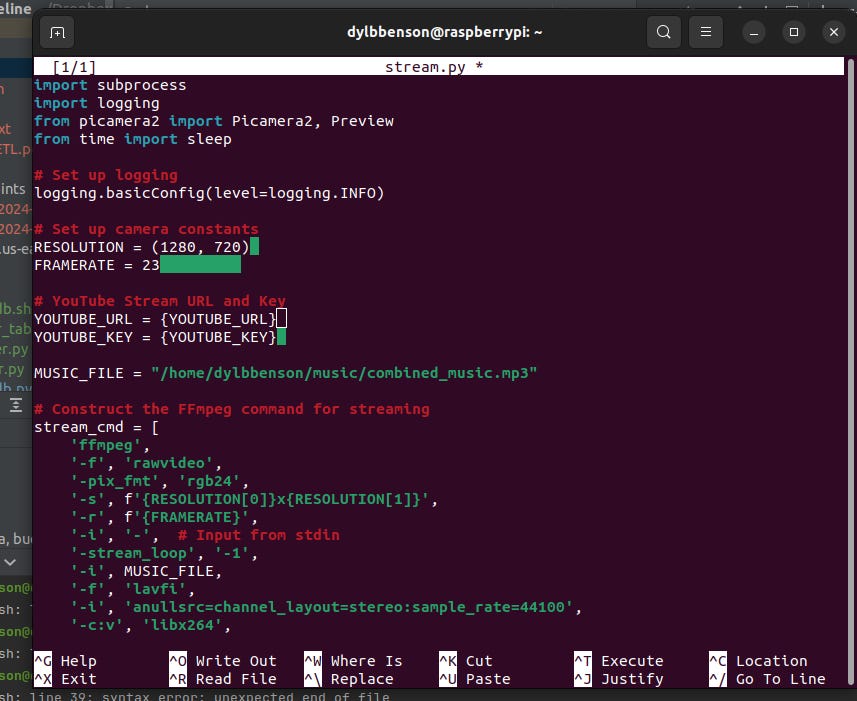
I finally was able to put together a streaming script that successfully streamed to YouTube, thank goodness. The script was mainly setting configurations for my camera and passing them into the Pycamera2 constructor as parameters. This constructor was shockingly intuitive, and very helpful in abstracting away most of the dirty work. With the hard part now done, I just needed to add in some error handling, logging, and a shell script to shut it off when I wanted. I didn’t run into any issues here. I also wrote a cronjob to start and stop the script automatically every day.
The final step was now figuring out how I was gonna attach the pi to my aquarium. I initially had the idea of sticking it to the glass with a few suction cups I’d boughten, but this only lasted until the couple attempts when the suction gave out and my pi almost broke on the floor. I needed to figure out a way to not have to rely on vacuum physics. It came down to giving my 3D printer one more task.
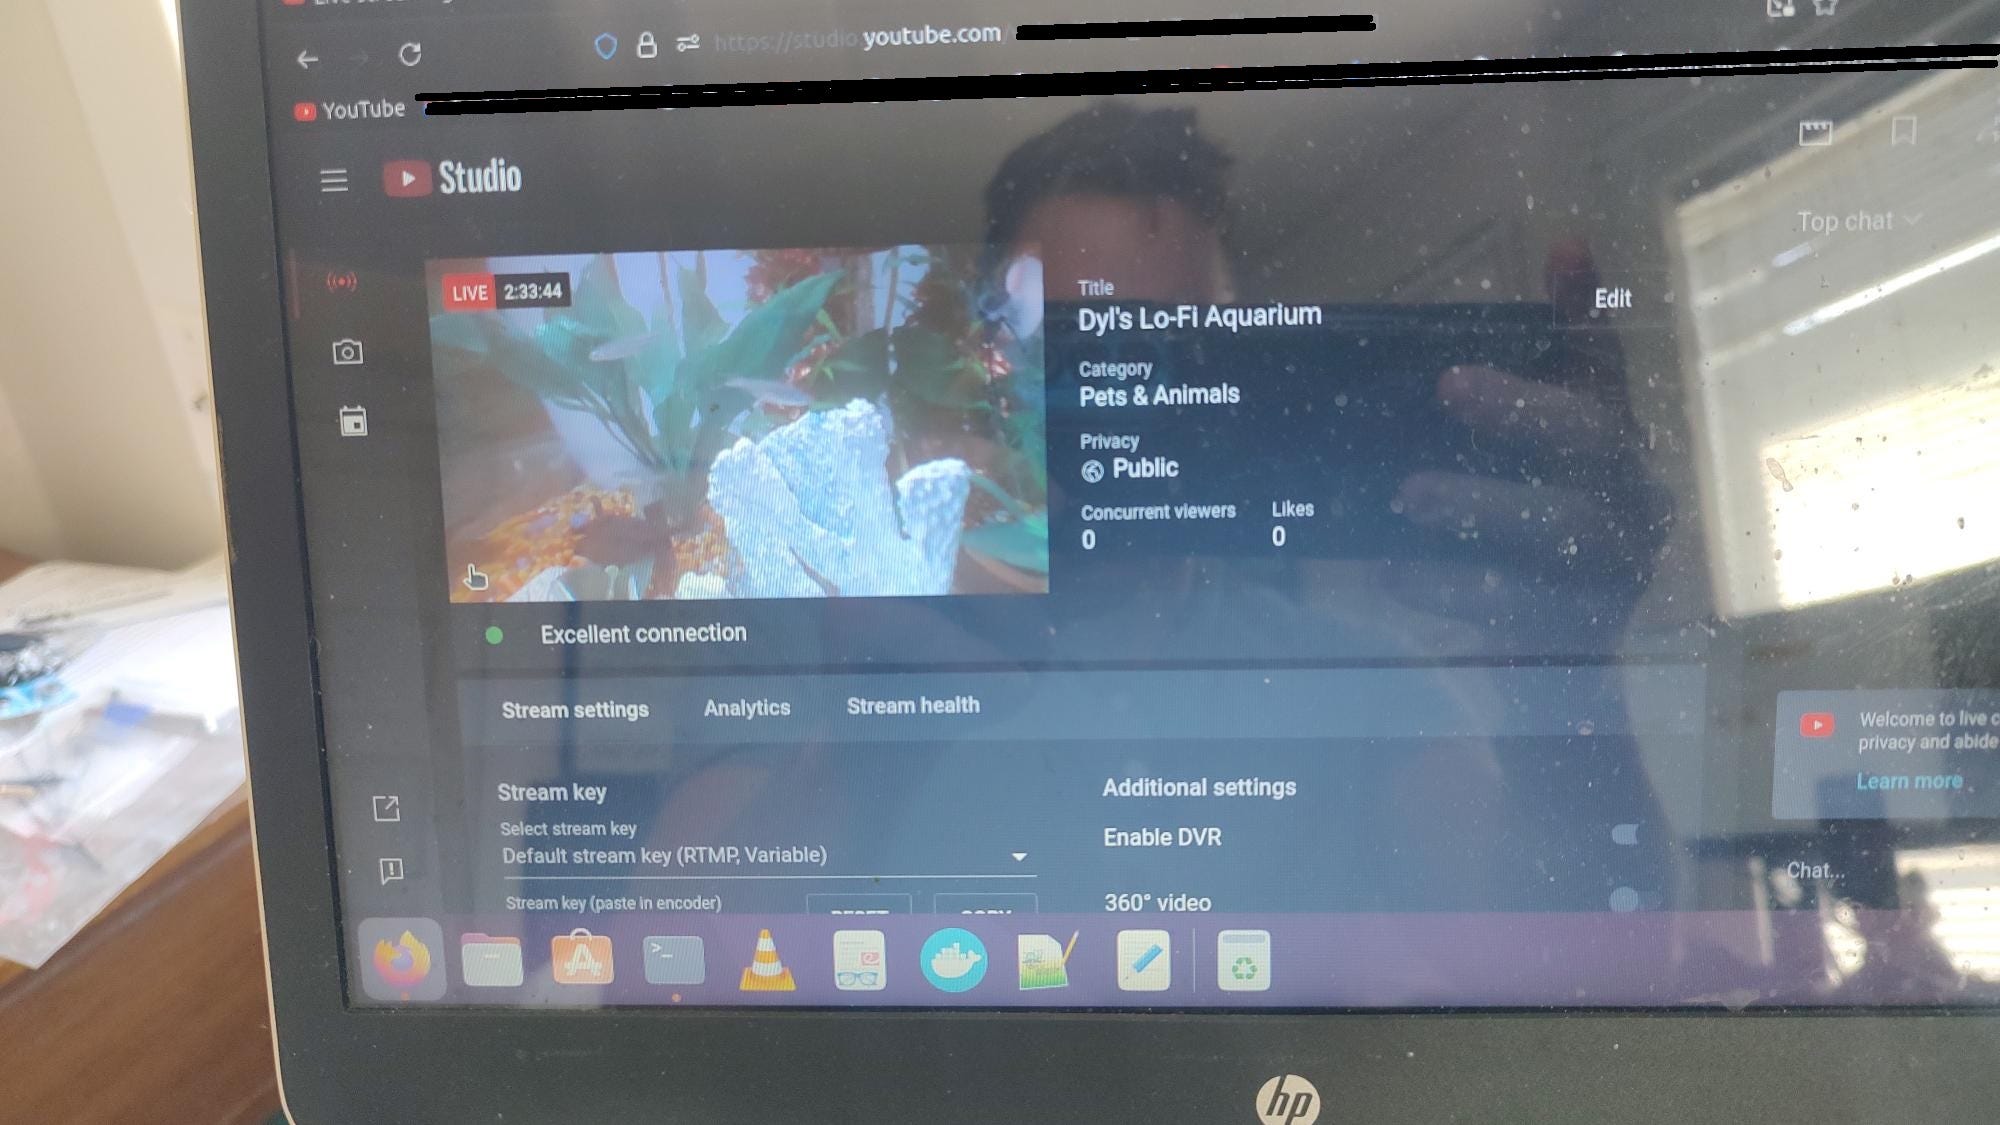
I’d found a small shelf on printables.com with holes to drive screws through. My fish tank has a wooden base, so I knew this would be perfect. I printed the shelf, drove 2 screws in, and voila, my pi sat perfectly on it. I made a few more final touches to the configurations of my camera to reduce latency, maximize resolution, and match the frame rate to the LED light that appeared to flicker. I started the stream for the first time and things looked great.

So all that was left was to tell everyone of the brilliant project I had created. I first messaged my close friends, who were quick to tell me how impressed they were. Multiple people suggested I add free-use music, which I gladly did. I downloaded a few dozen audio files made by artist Purrple Cat, then wrote another python script using the module Pydub to concatenate them together into a continuous song. Adding this into the stream was surprisingly easy using the Pycamera module.
I posted on my Instagram and was surprised and humbled by how many of my friends messaged me about their thoughts. I got complements and suggestions from people I hadn’t talked to in years. I have a few folks who told me they keep the stream on regularly during the day while they work to add a bit of ambience to their home office.
If you’d like to watch my stream, you can click the link here. I stream every day from 7 am - 7 pm.
If you’d like to see how I was able to stream from my Raspberry Pi camera, you can check out my code on Github right here.
Thank you for reading! This is my first article, and I hope to write more in the future as I make this a personal journal for my professional career.